Translate

Tuesday, February 23, 2016

Springing into action!

Our last workshop was held on a beautiful Spring day here in Dade City, and I had several new students along with a large group of continuing ones.  Perfect weather, great location and an interesting collection of plant materials to work with made for a great time.
Most of the new students wished to start with Eco Printing on paper, so we got the workshop set up, mixed the vat of indigo and allowed it to settle while we walked about the Museum grounds gathering plant materials for our prints.  I sometimes forget that I have been doing this for a while, and can sometimes overwhelm new people with too much information.
We got back to the workshop room, and I had the students set up their soaking tubs for their papers and plant materials and tried to explain the why's and where for's for doing these things.
It was such a pleasure to see the eagerness on their faces as they put their creative energy into building their paper stacks between two ceramic tiles.  I like to leave them to their own devices during this time and just walk around making suggestions as to how this or that change might affect their print.  They are like sponges.
By the time we get this all done, it is time for lunch.  The students that are going to do dyeing projects have their pieces stitched, folded clamped or whatever procedure they are going to try with indigo.  Some are combining eco printing bundles with post dyeing in indigo or cochineal.  It is going to be an interesting afternoon.
I have not yet photographed the dyed projects, so I will only show a few of the paper prints today.  Opening the stacks of prints was like Christmas, and it was such a delight to see the faces get wide eyed  as they viewed their creations for the first time.  This is always my favorite part of the workshop.  It is also the busiest as there are so many questions about what to do with the print, how to care for them, protect them, use them...  What made this color and what was this leaf again?  Now for the unveiling.  I'm sorry I didn't get everyone's name attached to their prints, but time constraints were great.  If you spot your print, please do post your name on this blog.  Just click on the words "No Comments" and leave a reply in the drop down box.  You probably should chose a number for your print and then add your name.

Liquidambar, cotton leaves and rose petals with thin steel wires.

Liquidambar (top left), Gossypium leaves (cotton) bottom, along with some leaves of Hibiscus Snow Queen leaves and the calyces of the cotton plant.

Liquidambar and Gossypium leaves, steel wires, bottle brush leaves, rose petals.

Liquidambdar along with rose petals and a cotton leaf as a resist with steel wires and some oak leaves. 
Liquidambar leaf with rose petals, some Hibiscus Snow Queen leaves. a spent blossom of H. sabdariffa.

Coreopsis flowers and rose petals added some bright color to this print laid on top of Boston Fern leaves.  There are traces of iron from within the stack that bled through to give some edge definition.

I will try to get the rest of the photos done as quickly as I can so you can see the lovely dye work that my students did with indigo and cochineal.  I hope you all have a lovely day.                                                                                                           
  

Wednesday, January 20, 2016

Cranking out new stitch designs!

Amy Grief is the soul of patience.  I asked her to try some more machine stitched Shibori, so she brought her antique Singer 66 Hand-crank Sewing Machine, and set about the difficult task of accordion pleating fabric then hand guiding the fabric through her machine while cranking the handle to create a stitch line.  She really got creative.  She also used 10 layers (5 mountain and 5 valley folds) to stitch through  Before you try this, remember to adjust your stitch length to as long as possible.  Remember also that the denser the stitching, the more difficult to get good dye penetration to the center of the folds.

On each of the examples shown, you can see the type of stitch design used on the left and right dark edges, and the results of the pressure of the thread on the interior portion of the designs.  It can help create variety of color and design if that is what you are looking for; but if not, then you will have to adjust the number of folds, or the pressure on the fabric while sewing.  The folds are two inches widee, but for rank beginners I would not advise anything less than 4" for the folds.

For those of you with a needle down option on you machine, this would be very easy design, but this is an antique Singer 66 Hand-cranked machine, so it was very tedious getting this design.

Simple diagonal pairs of lines, but again no needle down option, so more tedium.

Just for the heck of it I asked Amy to try a stacked Check mark design.  Bless her heart she did it.

This was the most difficult of all, a free motion stitch pattern really limited in space to move around and hand cranked all the way through.  The stitches were also really difficult to remove, and you can see how tightly they held the internal layers, not allowing the dye to penetrate the interior.


Thank you so much, Amy Grief for your generous patience and time.

Let's Twist Again!

Amy Grief agreed to spend part of the workshop helping me to do a photo essay of Arashi Shibori, or the pole-wrapping technique.  She provided a piece of cotton eyelet material, and we set about documenting each step so that beginners could learn this technique.  I hope you like it.

Amy is holding up the piece of white cotton eyelet material that she has started to fold into 4 even folds before wrapping,.

The folded fabric laying next to the 4" PVC pipe on which it will be wrapped on the diagonal then tied and compressed before soaking and dyeing.

Begin and end the folded, wrapped fabric with pieces of painter's tape to anchor the ends while it is string wrapped.  Once the string is wrapped on an angle from top to bottom, the piece of fabric is pushed toward the bottom causing it to accordion pleat itself.  It is then thoroughly soaked in water to help the dye penetrate the interior folds.

This phto shows the wrapped, tied and compressed fabric after soaking a dyeing in the indigo vat.  It is allowed to fully oxidize before removing the wrapping string.

Amy is removing the wrapping string after the piece oxidized on the pole.

Amy is allowing the fabric to slighty expand after removing the string to show how the pattern is forming.

String removed and fabric removed from the pole.  first fold opened and it reveals the chevron pattern.

All of the fold are now open, and the piece has been rinsed.  Nice work and thank you, Amy Grief.

New Year's Blues!

Well, the first workshop for 2016 is here and gone.  My students brought their thinking caps and tried many new techniques.  Some revived past work and tried to improve it.  Some tried making wearable garments from up-cycled goods, and some just tried to create new patterns in fabric that will be used for quilts and other goods.

Whatever they did, they did with gusto!  They gave the class their all and the end results were wonderful.  I would like to share a few of them with you.

Not satisfied with her first attempt at Arashi Shibori, Marilyn Hines decided to re-wrap and dye again but in reverse.  This lovely piece is the result of her creative thinking.

Another Arashi Shibori piece re-wrapped and dyed in reverse.  Marilyn managed to create some wonderful desin play with the light and dark patterns.

Another Arashi piece that Marilyn was not happy with, but instead of reverse wrapping and dyeing, she over dyed the piece with the dye extract from wild cherry leaves.

This piece was a lovely light indigo color with designs from twisting and dyeing that Marilyn was not satisfied with.  She decided to over dye the whole piece in wild cherry  leaf extract and achieved a lovely green with the original patterns still visible.  Unfortunately, my photo was unable to catch all of its beauty.

This unique design by Maggie Clark was a tour de force of Shibori techniques.  Believe it or not this piece has folding and clamping,  Hickory nuts tied into the fabric,  twisting and tying the fabric and finally pole wrapping.  I like the end result!

The vintage linen piece by Linda Johnson is just wonderful.  She decided to treat the lace edges like regular fabric and twist and tie the fabric before dyeing..  Nice result, Linda!

Another vintage linen and lace piece by Linda Johnson.  This is a combination of clamped wooden strips and twisting the fabric before dyeing.  The combination of solid fabric and Battenberg lace edgings show her design skills very well.

Indigo, vintage linens and antique farm equipment, great combination!

More indigo and vintage Battenberg lace on table linen.

Maggie Clark did a marvelous job with the folding and clamping on this blouse.  There are eyelet and embroidery designs on the fabric that are perfect with the indigo pattern.

Folding and clamping with non-uniform folds along with twisting the fabric before clamping helped to create this lovely piece by Linda Johnson

Another multi technique piece.

Very interesting wrap and tie piece with multiple dips in the vat by Amy Grief..  So delicate looking.

This sleeveless blouse by Linda Johnson is a combination of twisting and tying.  Linda had to leave before I could take a better photo of this, but perhaps I can re-post another photo later.

Marilyn Hines is getting pretty good with the clay paste resist and quilt stencils.  She has just completed a lovely quilt using only natural dyed and printed fabrics from our classes.  I will post a photo of the quilt a little later on.

I am goong to post more photos from this workshop, but they are more in the style of a photo essay of the Arashi Shibori technique.  Amy Grief assisted me with a step by step photo shoot, and it is worthy of its own post.  For those who have never tried Arashi Shibori (or Pole Wrapping) I hope the post is of some benefit to you and you feel encouraged to try it.

Thursday, December 31, 2015

We end with the old and begin with the New!

It has been a busy year in Dye World!  My students and friends have turned out some exceptional work and we have together gained much more knowledge about our craft.  We have enjoyed sharing our work with you and have appreciated your comments.

Here's to wishing you the best in the New Year;  Health, Love and Happiness!

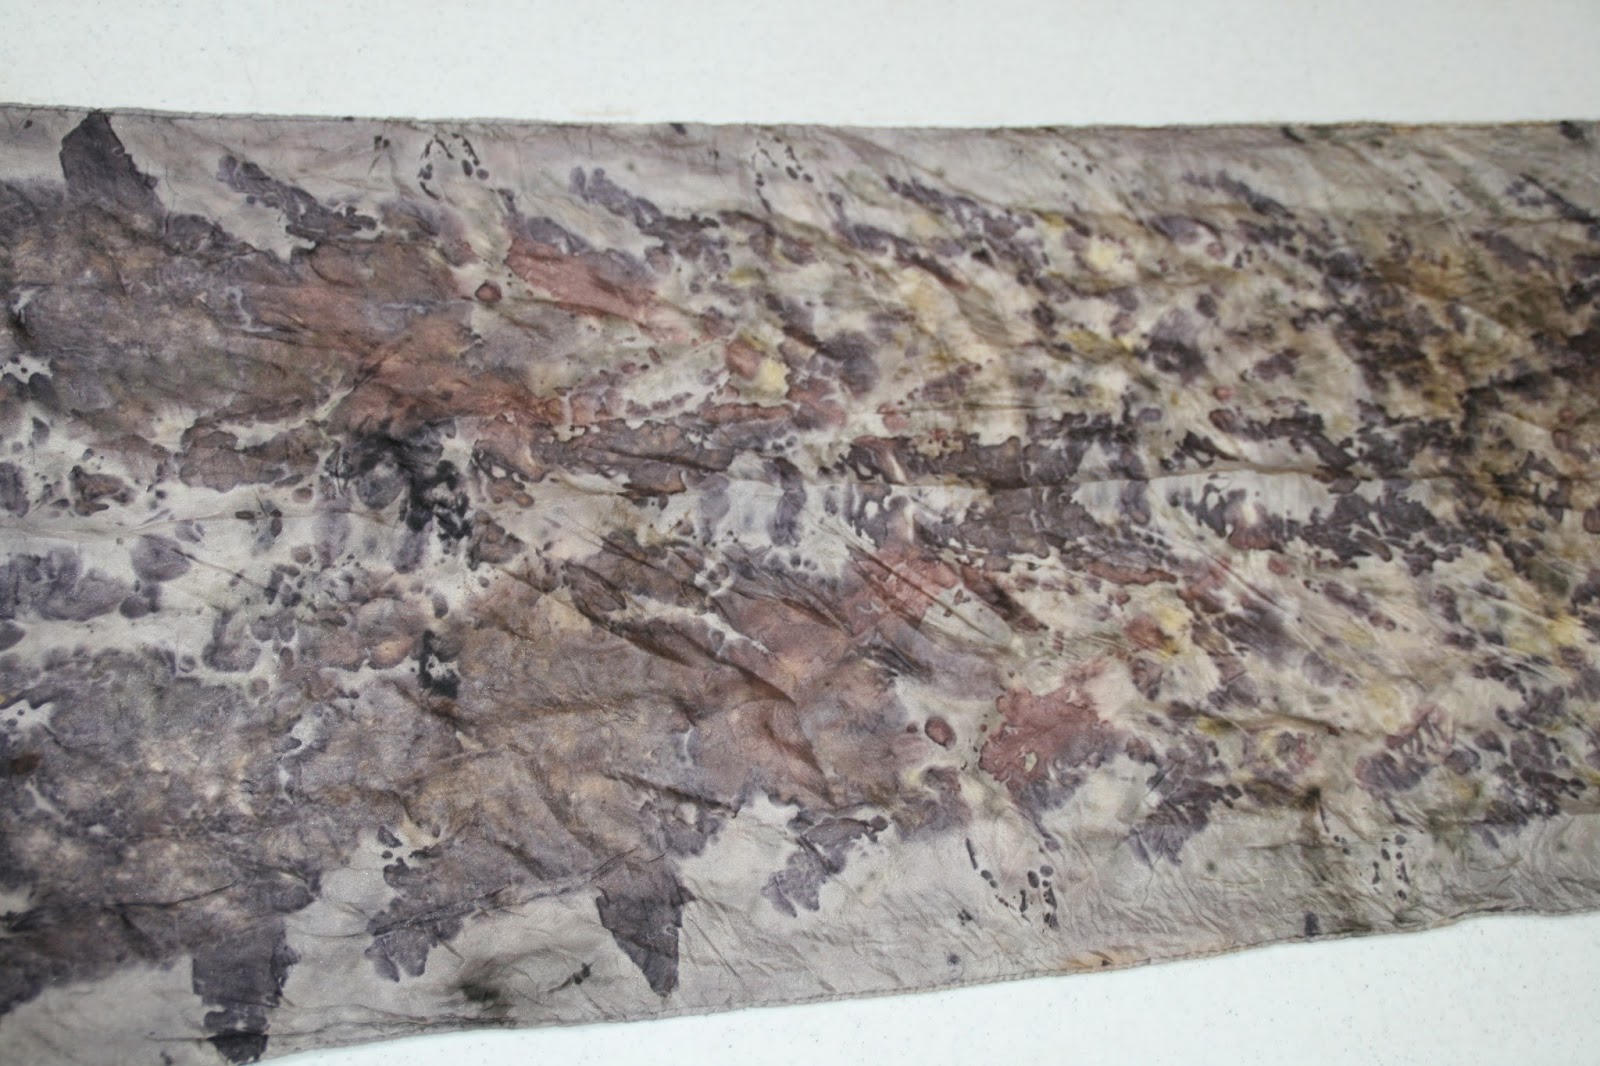
Silk Satin Scarf, 22"x90", Eco Printed with Acer and Casuarina and Camellia japonica petals and fine wires from truck tires then over-dyed with an exhausted Cochineal bath.

A close up detail of the scarf


Happy New Year, Everyone!

Sunday, November 22, 2015

Third time is the charm!

Maggie Clark shows with her two latest silk scarves that you aren't stuck when your print does not turn out exactly as you hoped on the first try.   Unhappy with the first eco print, Maggie re- printed the bundle using new and different plant materials and cooked them again.  Still not happy, Maggie added some rusty metals, new and different plant materials and re-cooked the bundle in a used bath of cochineal dye  The third time is the charm!

Lovley design with good prints and some interesting colors.

I love the overall textures and colors on this scarf.  So much visual interest and texture.

Detail photo #1

Detail photo #2, even though the fabric is flat, there is great 3-d texture.

Detail photo #2 show great color and texture

Blocks and stencils and stamps....Oh my!


Last Sunday's workshop was a real treat.  Beautiful temperatures, bright sunny skies, hard-working students letting go with their creativity made for a very special day.  It was an indigo only workshop, but we worked with two resist paste techniques. Most of these examples will show how different each resist technique differs, but more importantly, they will show that even from the not so great prints, there is plenty to salvage.  There will be no waste.  We used things like doilies (plastic and cotton) stamps, ( I was fortunate enough to find some beautiful recycled hand-carved teak stamps from India) quilt stencils to use with either Cassava paste resist or with clay resist paste.  This is our second class on resist pastes, and the students were well over their fears, and no longer seeking perfection in each piece.  I hope you enjoy their work.
Maggie Clark used Cassava Paste Resist pounced through a plastic doily to create this lovely design.

A collection of recycled wooden carved teak stamps from India with cassava paste resist created the diapered pattern.

A plastic quilt stencil of birds and cherry blossoms used with Cassava Paste resit tamped on cotton.  Clarity will become better with more experience in how to fill large areas with resist.

This cotton fabric has not yet completely dried after stamping with cassava paste resist using large teak stamps form India.  The outer border was free hand stamped with foam paddle to create a lovely textured border.

Another plastic quilt stencil, but this time used with clay paste resist.  The fabric is still slightly damp after rinsing, but fine detail was easy with this type of resist.

This pineapple design was from a plastic quilt stencil used with  clay paste resist

Kay Stanno used cassava paste resist with a Sun flower-carved teak stamp block form India. The paste had started separating, but served to highlight the actual design of the stamp.

All over use of 3" teak stamps with cassava paste resist with a foam roller created a nice pattern on cotton muslin.