Friday, March 14, 2014
Thank You!
My blog went over 20,000 views this morning. I couldn't believe how many people have seen my pages! Thank you all for your visits and your comments. We have come a long way. When I returned from Europe two years ago next month, only 3000 people had viewed my blog in 3 years. It shows the interest in our art and processes. Again, thank you.
Crazy for Cranesbill!
Driving home from shopping, I noticed a large clump of wild cranesbill (Geranium dissectum) growing on the side of the road. This is an invasive species where I live, so I didn't mind pulling it up to try printing with it. I used a two fold-4 page card of 140# watercolor paper, and soaked the paper in water/vinegar mixture. I decided to place the Geranium leaves in a container of washing soda/water that I had left over from mordanting some papers. I created a stack between two ceramic tiles and steamed the stack in the pressure cookeer on a rack above the water for 10 minutes. The single page of leaves had no washing soda. The double page print had washing soda and produced 3 colors. Less color without the washing soda.
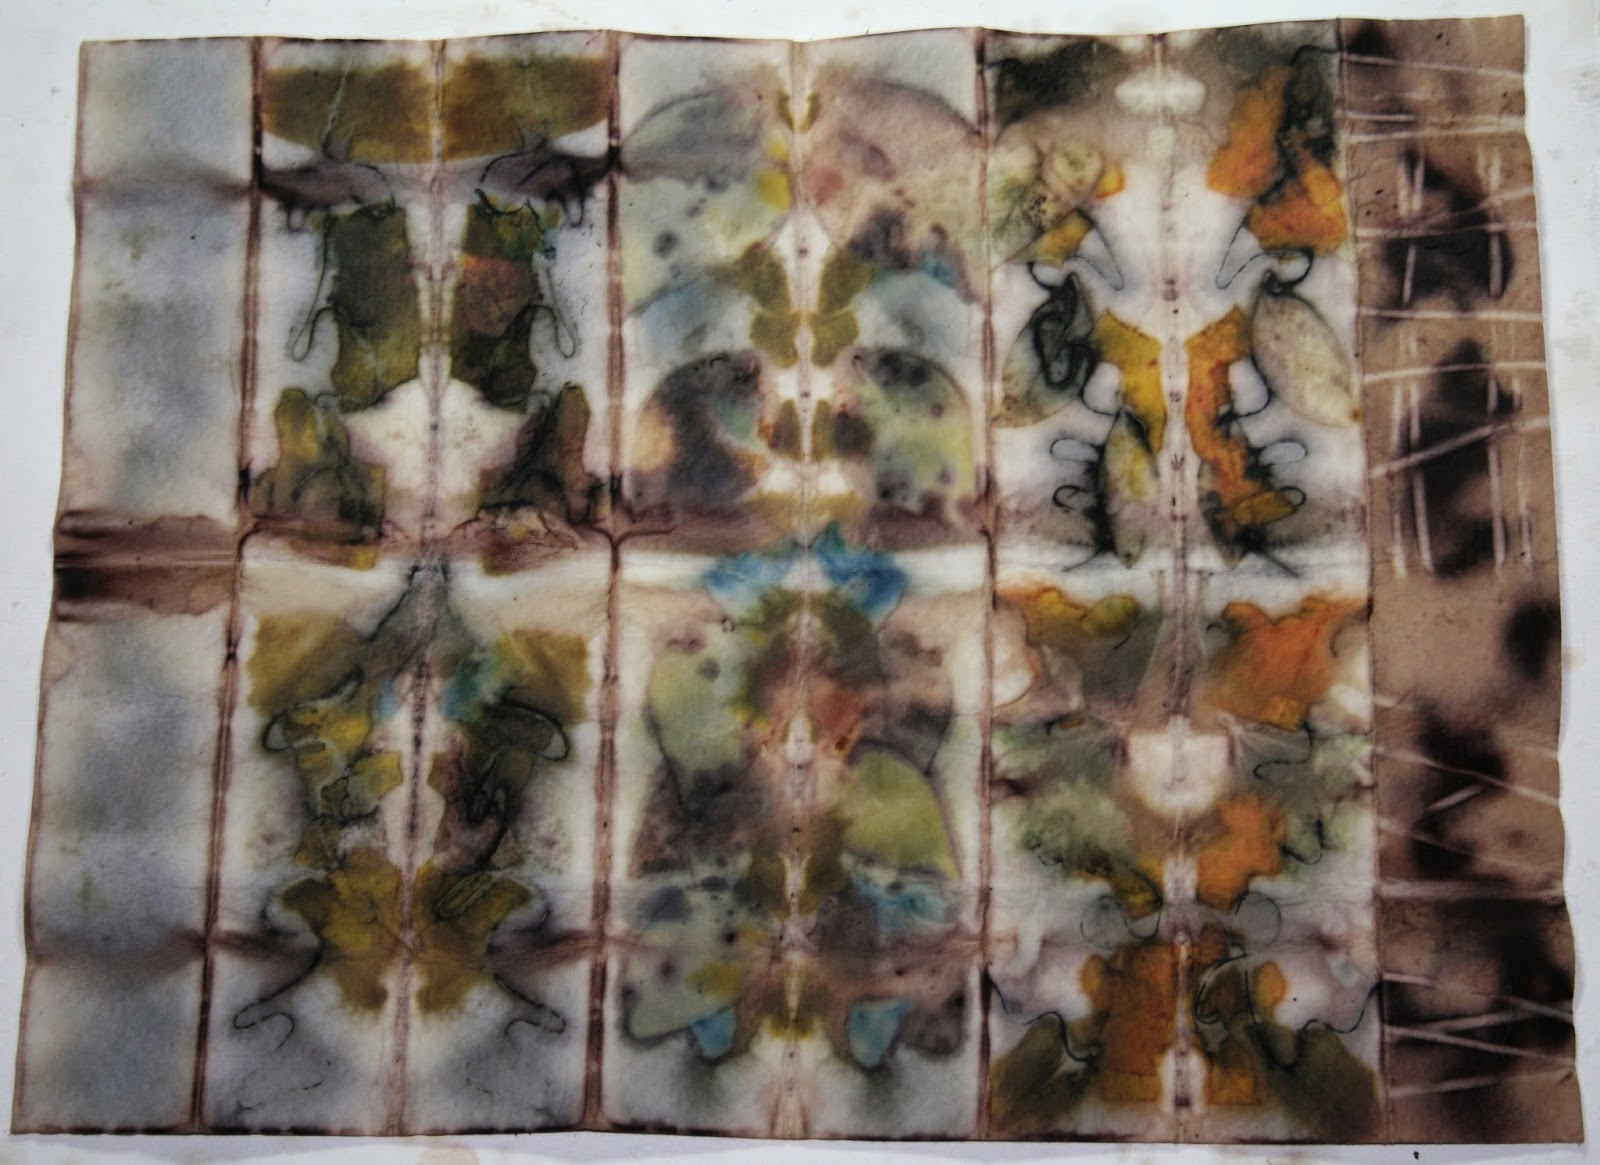
The second print was on a white cotton handkerchief with crocheted edging and soaked in vinegar/water.. I used cranesbill leaves without soaking the leaves, and added two fine steel wires. Not as much color, but reaction of leaves to iron made nice edges and a hint of purple/black.


The second print was on a white cotton handkerchief with crocheted edging and soaked in vinegar/water.. I used cranesbill leaves without soaking the leaves, and added two fine steel wires. Not as much color, but reaction of leaves to iron made nice edges and a hint of purple/black.
Dilly Dallying with Doilies!
I was inspired by the work of Giedra Dagiliene and Jeanne H. McLaughlin who have been experimenting with using doiles in their Eco Dyeing, I decided to try Eco Printing on 2 vintage cotton doilies myself. I used the leaves of Liquidambar (Sweet Gum) and some rusted wire. The two doilies were stacked and steamed between two 6" ceramic tiles in the pressure cooker on a rack above the water for 10 minutes. After cooling, the vegetable mater and wire were removed and the prints allowed to dry. Here are the printed doiles.


Saturday, March 8, 2014
New "produce" for canning, Books and Prints!
Going one step further from canning dye extracts and leaves or barks, I tried my and at making paThe rest are saved for my workshop on the 23rd of March.


Have you canned your prints lately!
India Flint has published a Blurb book called Stuffed Steeped & Stored. In it she describes a way to color and print fabrics, and papers using a minimum of fresh plant material. If you are familiar with canning or preserving using the Hot Water Bath canning method or Pressure canning, you can do the same thing. I grew up helping to can and preserve produce and jams and jellies with my family since I was about 10 years old. My first canning experience with dyeing was back in July 2011 when I placed fabric and cosmos dye in a quart jar and sealed it to see if the dye would take. It did. In May of 2011, I canned 12 quarts of vegetable material to make my own dye extracts. Those jars are still sealed today, except for one. A jar of Eucalyptus bark became unsealed. There is no sign of mold or mildew inside that jar 2 years later. Could it be because Eucalyptus is both anti-fungal and Anti-bacterial? Here are some photos of the canned dyestuffs:
 |
| 2 bQts. of Elderberry extract from 2012 |
 |
| Left, Mullien extract, right, Eucalyptus bark extract, both from 2012 |
 |
| Lt. to rt.: Elderberry extract, new Eucalyptus bark extract, cosmos extract and 2012 Eucalyptus extract |
 |
| 12 quarts of dyestuffs from 2012, still unopened and stronger in color. |
A Post-printing Dip!
I accidentally stumbled upon a new treatment for problem prints. I recently printed some small prints using Psidium catteleianum (Cattely Guava) and a few other mixed flowers and leaves. The Psidium prints for the most part were successful. A couple did not have enough detail along with some of the flower part prints. I decided to use a post dip bath like I do with fabric sometimes, and made a mixture of 2 cups hot water, 2 cups cold water and 2 tsp. of washing soda. After I dissolved the washing soda completely, I dipped my paper prints that had problems in the washing soda/water mixture and took them out quickly. Boy what a difference in color was visible right away! I allowed the prints to dry and photographed them. Here are the finished photos:


Subscribe to:
Posts (Atom)